02 - Create a Web App (10 min)
In this walkthrough, we will create a web app that runs a Docker container. The Docker container contains a Welcome message.
Azure App Service are actually a collection of four services, all of which are built to help you host and run web applications. The four services (Web Apps, Mobile Apps, API Apps, and Logic Apps) look different, but in the end they all operate in very similar ways. Web Apps are the most commonly used of the four services, and this is the service that we will be using in this lab.
Task 1: Create a Web App
In this task, you will create an Azure App Service Web App.
-
Sign-in to the Azure portal.
-
From the All services blade, search for and select App Services, and click + Add, + Create, + New
-
On the Basics tab of the Web App blade, specify the following settings (replace xxxx in the name of the web app with letters and digits such that the name is globally unique). Leave the defaults for everything else, including the App Service Plan.
Setting Value Subscription Use default supplied Resource Group Create new resource group Name myDockerWebAppxxxx Publish Docker Container Operating System Linux Region East US Note - Remember to change the xxxx so that your Web App name is unique.
-
Click Next > Docker and configure the container information.
Setting Value Options Single container Image Source Docker Hub Access Type Public Image and tag microsoft/aci-helloworld
Note The startup command is optional and not needed in this exercise.
- Click Review + create, and then click Create.
Task 2: Test the Web App
In this task, we will test the web app.
-
Wait for the Web App to deploy.
-
From Notifications click Go to resource.
-
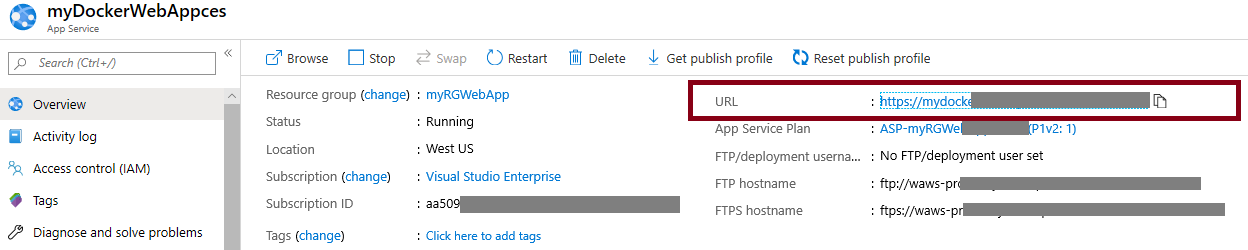
On the Overview blade, locate the URL. Copy the URL to the clipboard.
-
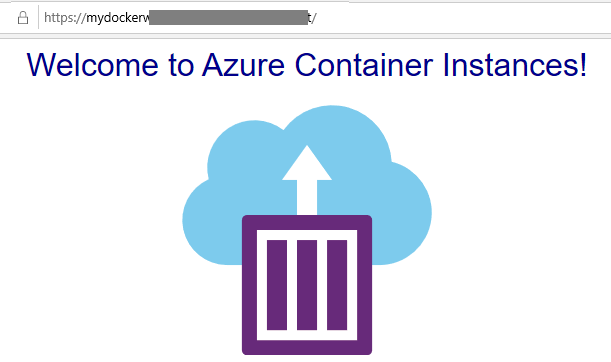
In a new browser window, paste the URl and press enter. The Welcome to Azure Container Instances! welcome message will be displayed.
-
Switch back to the Overview blade of your web app and scroll down. You will notice several charts tracking Data In/Out and Requests. If you repeat step 4 a few times, you should be able to see corresponding telemetry being displayed in these charts. This includes number of requests and average response time.
Note: To avoid additional costs, you can remove this resource group. Search for resource groups, click your resource group, and then click Delete resource group. Verify the name of the resource group and then click Delete. Monitor the Notifications to see how the delete is proceeding.
Congratulations you successfully created an Azure App Service.